You finish a software walkthrough, stop the recording, and feel good about it for about ten seconds. Then you open the file and find the worst version of “it recorded”: your voice is there, but the product audio is gone. Or the app sound came through, but your mic picked up every key press, chair squeak, and room echo. That's the moment you realize screen capture isn't mainly a video problem. It's an audio routing problem.
If you're trying to learn how to record screen with audio for training, onboarding, demos, or course creation, the goal isn't just getting a file. The goal is getting a file you can use without re-recording the whole lesson. In practice, that comes down to three habits: choose the right recorder for your device, capture microphone and system audio separately when possible, and run a 10-second test before every real take.
Table of Contents
- The three failures that break training recordings - What each platform does well - Built-in screen recorders by platform - Set OBS up for recording first - Protect the file before you hit Record - Keep the scene simple and predictable - Set up audio in the order that prevents mistakes - Separate tracks save bad mixes - Permissions break more recordings than settings do - Use settings that fit training content - Settings that matter more than people think - Run a real 10-second test, not just a meter check - Silent file, crackling audio, delayed narration - Recheck before you re-record - Pin this before every sessionWhy Screen Recordings Without Audio End Up Unusable
The painful version usually looks like this. A learning designer records a long walkthrough, exports it, uploads it, and only then notices the system audio track is flat while the mic captured every desk bump in the room. The video exists, but the lesson doesn't. For L&D work, silent or partially silent recordings usually aren't salvageable.
Audio has been central to recorded media for a long time. The broader foundation started in 1877, when Thomas Edison invented the phonograph, the first machine that could both record and play back sound, and by the early 1930s sound-on-film had become nearly universal in movies, showing how quickly synchronized audio became standard once the technology was reliable, as documented by the Smithsonian's early sound recording history. That same synchronization problem still shows up today in screen recording.
The three failures that break training recordings
Most bad captures fall into one of these buckets:
- System audio never got captured: The recorder grabbed the screen and mic, but not the app, browser, meeting, or demo audio.
- Permissions changed without you noticing: Operating system updates and device changes can reset microphone or screen recording permissions.
- Everything got mixed into one track: Voice and app sound are baked together, so you can't fix balance problems later.
A big reason this matters now is that audio isn't optional in many workflows anymore. A screen-recording roundup citing a 2023 Statista survey reported that 78% of screen recordings worldwide include audio, up from 42% in 2018, and that videos with sound achieved 52% higher completion rates for product demos and tutorials, according to the audio production history reference that summarizes those figures.
> Practical rule: If learners need to hear what changed, what to click, or what to ignore, silent footage isn't a backup. It's a failed recording.
For accessibility, narration still isn't enough on its own. Pairing spoken explanation with on-screen text helps more people follow along, especially when you later add captions for deaf learners.
Picking Your Built-In Recorder by Platform
Built-in recorders are fine for quick captures. They're less fine when you need predictable audio behavior across repeated training sessions. The right default tool depends less on brand loyalty and more on one question: can it reliably capture the audio you need on your device right now?
What each platform does well
On Windows 11, you'll usually encounter Xbox Game Bar or Snipping Tool first. Game Bar is handy for fast captures, but it's not the tool I'd trust for structured training production because its behavior around full desktop workflows and audio capture can be limiting. Microsoft support notes that Windows 11's Snipping Tool can record both system audio and microphone input if users enable those options in Settings, according to a Microsoft Answers post from September 2025. That matters because many Windows users assume the recorder is broken when the setting is off.
On macOS, built-in recording is clean and simple for quick jobs, but system audio support can vary by setup and version. If your Mac workflow has to be repeatable, especially for training teams, you'll often end up wanting a more configurable tool.
On iPhone and iPad, Control Center recording is useful for app walkthroughs. The catch is that mobile screen recording often needs deliberate mic selection and may not behave the way desktop users expect with internal audio.
On Android, support varies by device maker. Some phones handle screen and audio recording smoothly, others bury key audio options in device-specific menus.
Built-in screen recorders by platform
| Platform | Default Tool | Captures Microphone | Captures System Audio | |---|---|---|---| | Windows 11 | Snipping Tool / Xbox Game Bar | Yes, depending on settings | Sometimes, depending on tool and settings | | macOS | Screenshot Toolbar / QuickTime-based workflows | Yes | Varies by setup | | iOS | Control Center Screen Recording | Yes, when mic is enabled | Limited, app-dependent behavior | | iPadOS | Control Center Screen Recording | Yes, when mic is enabled | Limited, app-dependent behavior | | Android | Built-in screen recorder | Usually yes | Varies by device maker |
> The best built-in recorder is the one you can verify in ten seconds, not the one that looks easiest in a menu.
If you're recording occasional clips, the default recorder may be enough. If you're producing repeatable onboarding, compliance walkthroughs, or software lessons, built-in tools are usually your starting point, not your finish line.
Setting Up OBS Studio for Free, Pro-Quality Captures
A recording can look perfect in the preview and still fail the only test that matters. You stop recording, hit play, and discover the narration is missing, the app audio never came through, or Windows switched devices after an update. OBS is the free tool I trust when the recording needs to survive that kind of failure, because it gives you direct control over what gets captured and where it lands.
!Screenshot from https://obsproject.com/assets/images/screenshots/main-interface.png
Set OBS up for recording first
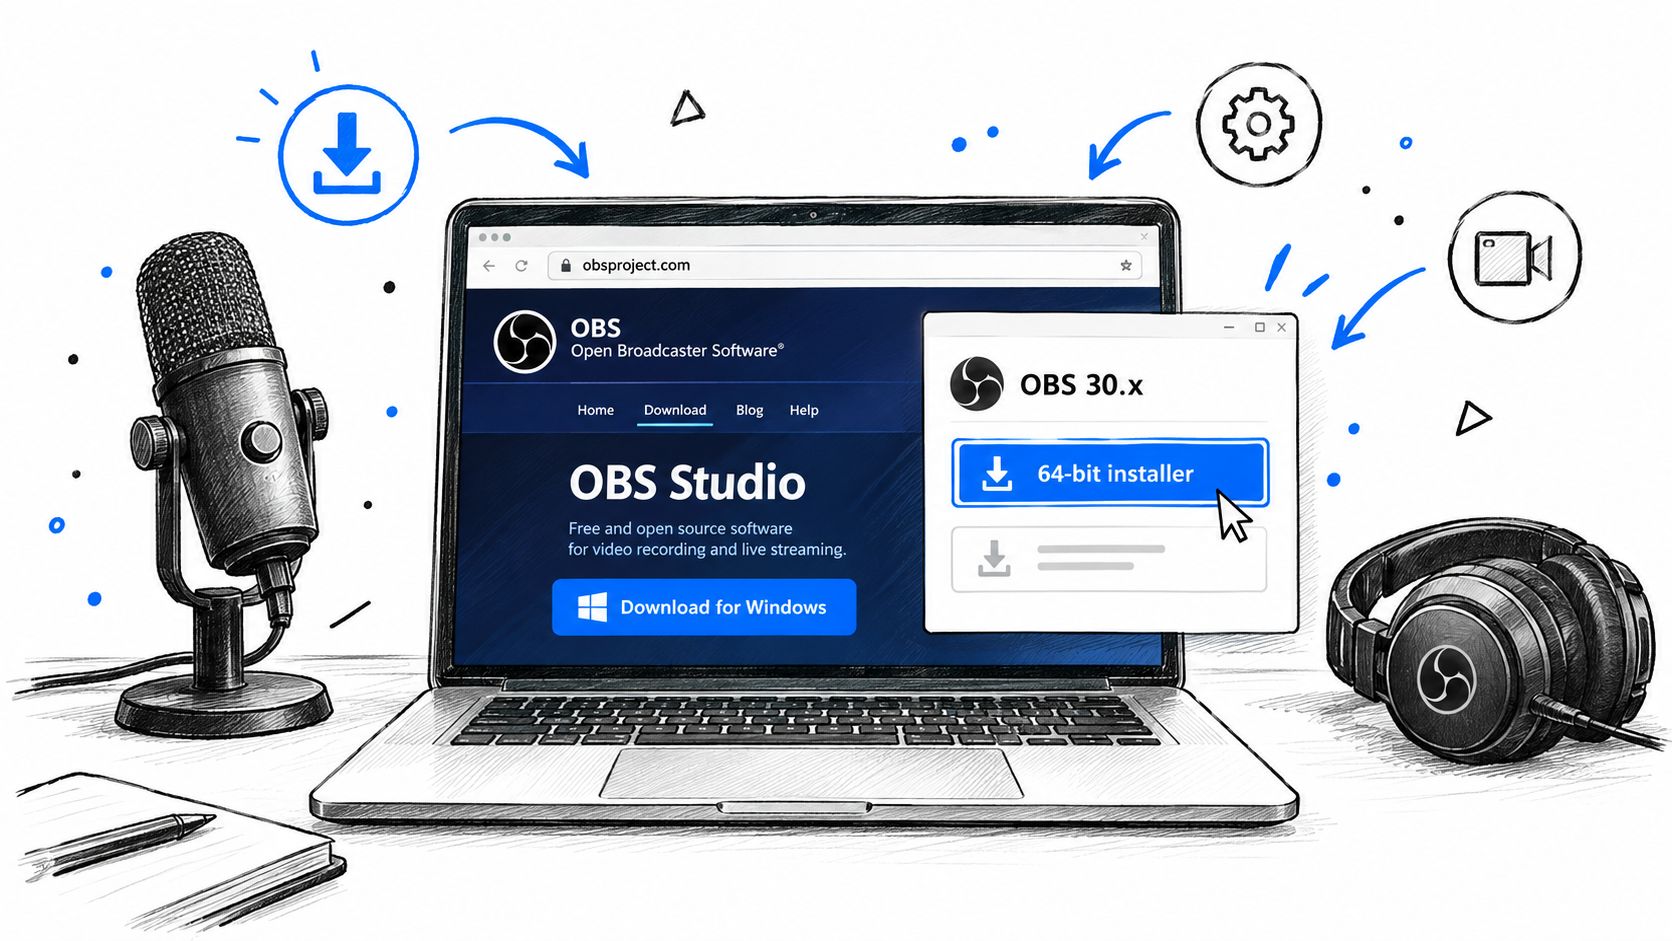
Install OBS Studio from the official OBS site, run the Auto-Configuration Wizard, and choose recording. That keeps OBS tuned for local capture instead of live streaming.
Then check the encoder in Settings. If your system offers NVENC, AMF, or Quick Sync, use it. Hardware encoding usually makes long training captures more stable and reduces the chance of dropped frames when you have a browser, slide deck, and screen share all open at once.
In Settings > Video, use 1920x1080 at 30 fps for standard software training. It is the safe default for onboarding, SOP walkthroughs, and course lessons. Go higher only when tiny UI text or fast product motion needs it.
Protect the file before you hit Record
In Settings > Output > Recording, set the recording format to MKV. If OBS crashes, Windows restarts, or a laptop runs out of space mid-session, MKV is far more forgiving than MP4. Remux to MP4 after the recording from the File menu if your editor or LMS prefers it.
I recommend one more habit here. Record a 10-second sample before every real take and play it back immediately. That catches the silent-recording problem before you spend 20 minutes teaching into the void.
Here's a useful walkthrough if you prefer seeing the interface in motion:
Keep the scene simple and predictable
For training production, one clean scene beats a complicated setup with hidden failure points. Start with:
- Display Capture for the screen you are teaching from
- Audio Input Capture for your microphone
- Audio Output Capture for system sound
- Optional Window Capture if you need to isolate one application
Skip Studio Mode unless you are actively switching layouts during the recording. Also avoid leaving devices on Default if the machine is shared or docked often. On Windows 11, permission changes and device switching are a common reason yesterday's working setup becomes today's silent file.
Configuring Microphone and System Audio Sources
Most “how to record screen with audio” guides get too shallow. They tell you to enable audio. They don't tell you that which audio you capture, and whether it lands on separate tracks, often decides whether the recording is editable later.
Set up audio in the order that prevents mistakes
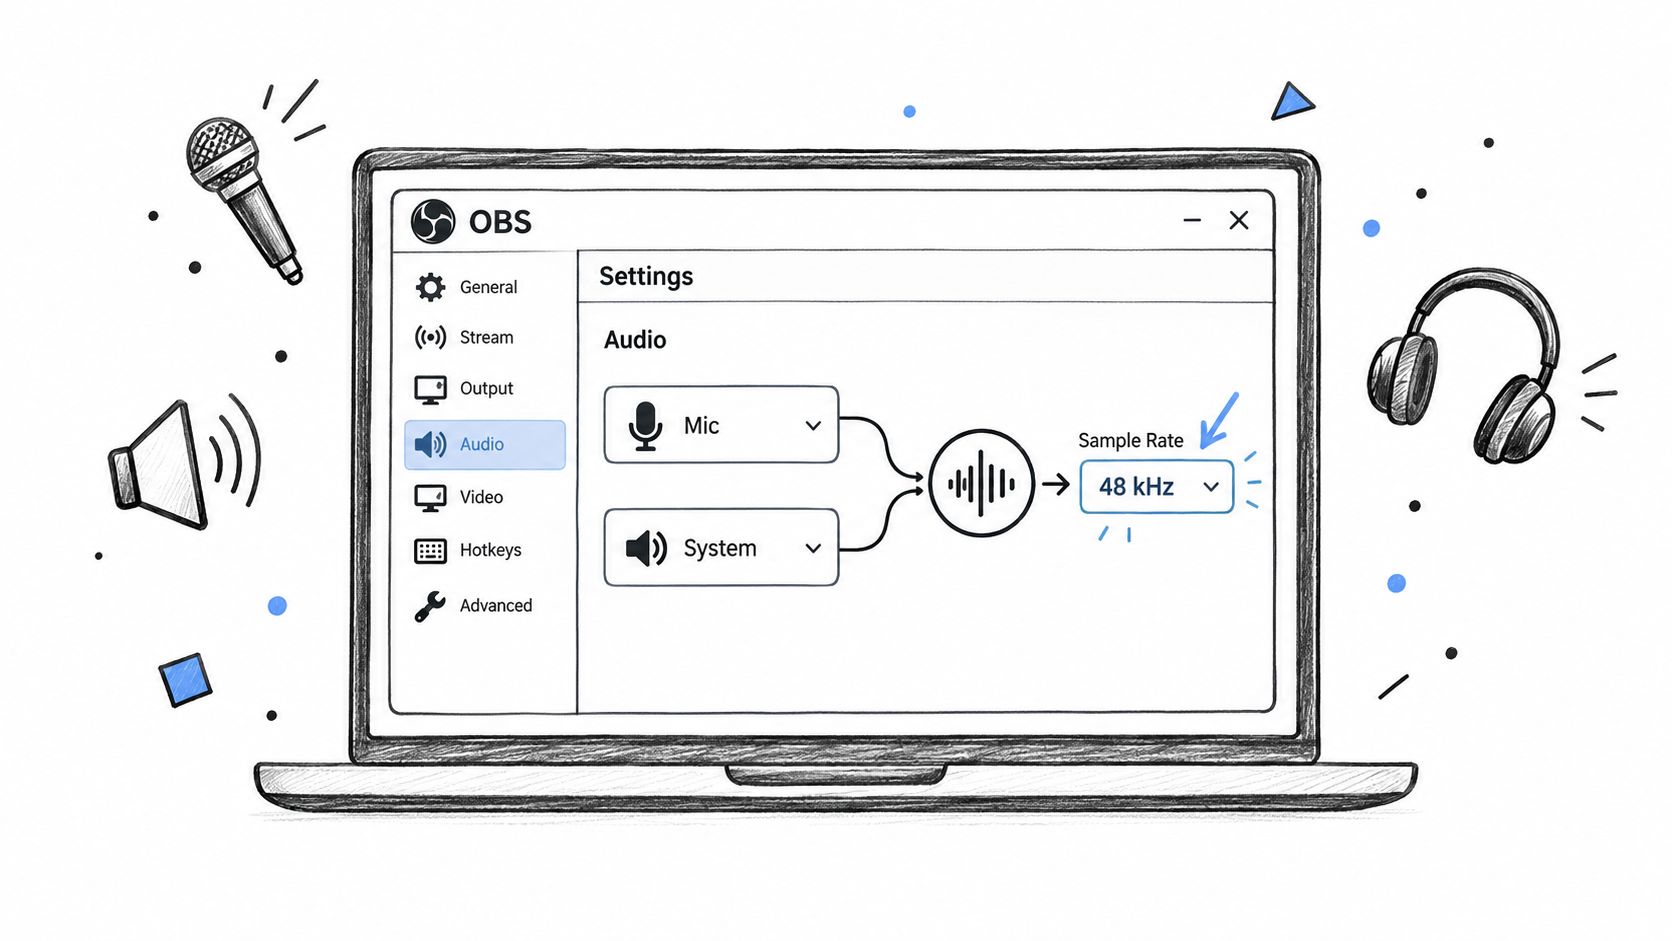
Open Settings > Audio in OBS and set the Sample Rate to 48 kHz. Then create two distinct sources:
1. Audio Input Capture for your mic 2. Audio Output Capture for system sound
Name them clearly. Use labels like Mic and System. Don't leave them as generic defaults, because later you'll forget which source is tied to which device.
!Screenshot from https://images.omev.ai/obs-audio-sources-config.png
For System, choose the playback device your computer is using. That's usually your speakers or headphones. For Mic, choose your USB microphone, audio interface, or headset mic directly. Avoid “Default” when you care about reliability, because default devices change more often than people realize.
Independent guidance on this problem keeps coming back to the same point: platform behavior varies, and separate-track capture is often the difference between a usable lesson and a painful cleanup job, especially for narration, app audio, and meeting audio that need different treatment later, as explained in this discussion of whether screen recording captures audio and why track separation matters.
Separate tracks save bad mixes
If OBS is set to place mic and desktop audio on separate tracks, you can rebalance later. If your narration is too hot or the app alert is too loud, you can fix it. If everything is mixed into one track, you can only lower or raise the whole mess.
A practical setup looks like this:
- Track 1: Full mix for easy review
- Track 2: Microphone
- Track 3: System audio
If your editor supports multitrack import, this makes post-production much cleaner. It also pairs well with a later workflow for adding voiceover to video when you need to replace rough live narration with a cleaner take.
> Record mic and system audio separately whenever narration and software sounds serve different learning purposes. It gives you control when the first take isn't perfectly balanced.
Permissions break more recordings than settings do
After the sources are added, check operating system permissions before you hit record.
On Windows 11, confirm microphone access is enabled, that desktop apps are allowed to use the microphone, and that OBS can access it. On macOS, grant the necessary recording permissions in Privacy & Security, then restart OBS so those permissions attach correctly.
Permission drift is real. Updates, headset swaps, docking changes, and Bluetooth reconnects can reroute your input device. That's why I never trust the meter once and move on. I trust a fresh test.
Optimal Recording Settings for Training Videos
You finish a 20-minute training, stop the recording, and only then hear the problem. Your voice is clipped, the product demo audio is missing, or the file drifts out of sync halfway through. Those failures usually start with recording settings that looked fine at a glance but were never tested under real conditions.
For training videos, the goal is simple: readable UI, clear narration, stable sync, and a file your editor can open without surprises. I get more reliable results from conservative settings than from chasing maximum quality.
Use settings that fit training content
For software walkthroughs, process demos, onboarding videos, and slide-based lessons, these settings hold up well:
| Setting | Recommended Value | Why It Matters | |---|---|---| | Resolution | 1920x1080 | Keeps interface text readable without creating oversized files | | Frame Rate | 30 fps | Covers cursor movement and app interactions cleanly | | Audio Sample Rate | 48 kHz | Matches standard video workflows and helps avoid sync issues | | Mic Level Peaks | -12 dB to -6 dBFS | Leaves headroom so louder phrases do not clip | | Mic Placement | 6 to 8 inches away | Improves clarity and reduces room pickup | | Recording Container | MKV | Protects the recording better if the app crashes or the session is interrupted |
That mic target and distance line up with practical setup advice in these screen recording audio setup tips. The bigger point is less about hitting a perfect number and more about giving yourself margin. Training narration often gets louder when you explain a tricky step, and clipped audio is much harder to rescue than audio recorded a little low.
1080p at 30 fps is the default I recommend for most course work. Higher frame rates add load to the machine and rarely improve a lesson built around menus, forms, browser tabs, or slides.
Settings that matter more than people think
Audio quality usually breaks before video quality does.
Lock the project to one sample rate. If OBS is set to 48 kHz but the interface or mic software is running at something else, sync problems and crackling become much more likely. Keep the chain consistent.
Use MKV while recording, then remux to MP4 after the take if your editor or LMS needs it. That one choice has saved more sessions for me than any cosmetic filter.
Mic technique matters too. Built-in laptop mics are convenient, but they pick up fan noise, keyboard taps, and room echo. An external USB mic placed correctly will usually improve a training recording more than raising bitrate ever will.
Run a real 10-second test, not just a meter check
This is the step many guides gloss over. Seeing green bars move in OBS is not enough. Record a short test file and play it back before the full session.
Use this sequence:
1. Speak at your actual teaching pace: Not a quick mic check. Explain one step the way you will in the lesson. 2. Trigger a system sound: Play a short app sound, browser clip, or notification so you can confirm desktop audio is being captured. 3. Record for ten seconds: Move the cursor, click through one action, and talk over it. 4. Play it back in headphones: Confirm the mic is clean, the system audio is present, and both arrive in sync with the screen action. 5. Check the file itself: Make sure it saved to the expected location and opens correctly.
If you record mic and system audio on separate tracks, this test becomes even more useful. You can verify that both sources were captured independently, not just mixed into one output that hides a routing problem until editing.
On Windows 11, this short test also catches permission drift early. A headset reconnect, dock change, Windows update, or app restart can leave the scene looking normal while the actual input has switched or gone silent. The ten seconds you spend checking a real file are cheaper than re-recording a full lesson.
> Required habit: run the test every session, even if the setup worked yesterday.
That routine catches the failures that waste entire recording blocks: clipped narration, missing desktop audio, wrong input selection, sync drift, and files saved to the wrong path.
Fixing Silent or Out-of-Sync Recordings
When audio fails, the failure usually isn't mysterious. It's usually one of a few repeat offenders that keep showing up in production: the wrong source, changed permissions, or sample-rate mismatch. I've seen all three in otherwise careful workflows.
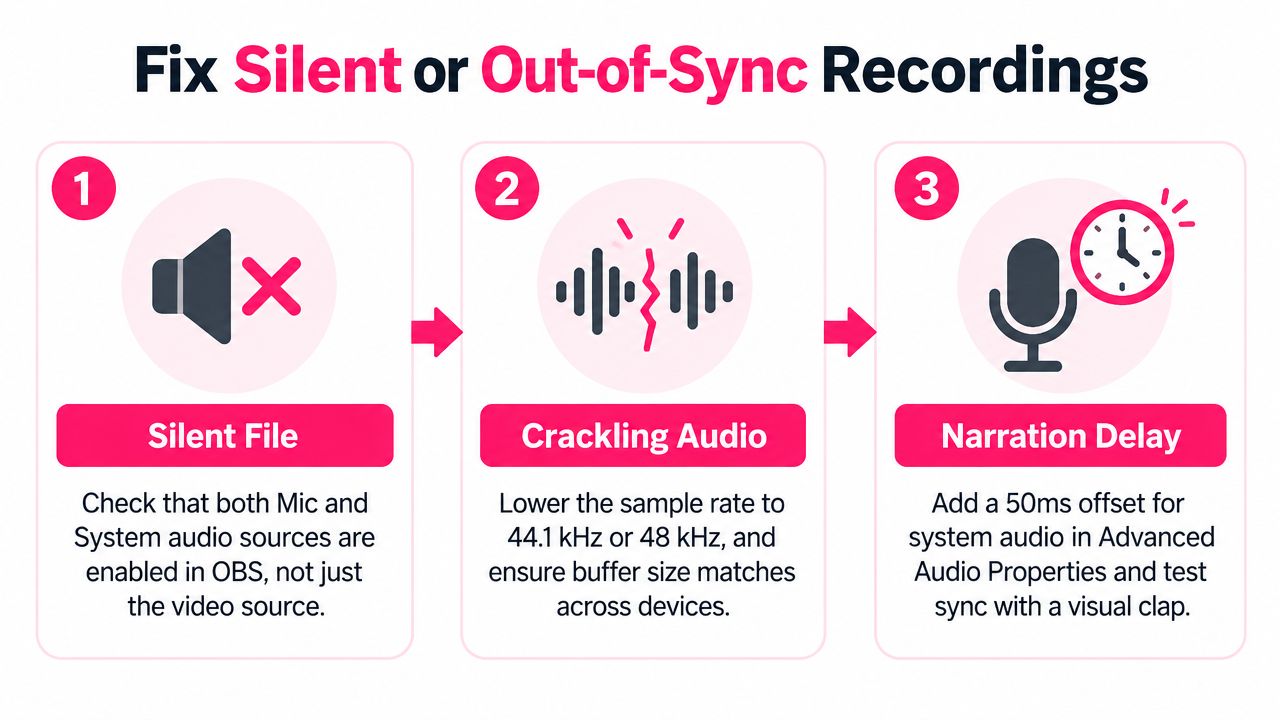
Silent file, crackling audio, delayed narration
Start with the obvious but high-value checks:
- No system audio: Confirm your desktop audio source is enabled and pointed at the playback device you used during the recording.
- No mic audio: Recheck the selected input device in OBS and verify the operating system still allows microphone access.
- Sync drift: Lock your recording chain to one sample rate and avoid overloaded systems during capture.
If Windows updated, if a USB headset was unplugged, or if macOS asked for permissions again, your previous routing may no longer be valid. That's the version of failure people miss because everything in the scene still looks normal.
Recheck before you re-record
If you get a silent or partially silent take, don't assume the first fix solved it. Re-arm the session and test again.
A clean troubleshooting pass usually looks like this:
1. Open OBS audio meters: Make sure both mic and system sources move independently. 2. Recheck OS permissions: Especially after updates or device changes. 3. Confirm sample rate consistency: Keep your devices and recorder aligned. 4. Run another short test: Listen back before committing to a full retake.
If your narration lands behind the cursor or click sounds, fix the routing and then verify sync with a quick playback. If you need to clean up alignment after capture, this guide on syncing audio with video is a helpful next step.
> A silent file is annoying. A file that sounds almost right is more dangerous, because teams are tempted to publish it.
Your Pre-Recording Checklist for Clean Training Audio
Most reliable recording setups aren't built on one perfect setting. They're built on repetition. The best teams I've worked with use a short checklist before every capture, even when they've recorded the same lesson type dozens of times.
Pin this before every session
1. Confirm permissions: Check that your operating system still allows screen recording and microphone access for the recorder you're using. 2. Confirm the right devices: Make sure the selected mic and playback device match the hardware you're using today. 3. Check separate sources: Verify mic and system audio are both visible as distinct sources in OBS or your chosen recorder. 4. Set the core format: Use 1080p, 30 fps, and 48 kHz for standard training captures unless the lesson needs something else. 5. Watch your mic level: Keep peaks in a safe range so your voice is present but not distorted. 6. Put on headphones: Listen for hum, echo, clipping, or room noise before the take. 7. Run the 10-second test: Speak, trigger app audio, record briefly, and play it back. 8. Check the output folder: Make sure the file saved correctly and can be opened. 9. Only then start the full recording: If the test fails, fix the setup first.
That last step matters most. People often treat the test as optional polish. It isn't. For training video production, it's the one habit that consistently catches silent files before a learner ever sees them.
---
If you're building training at scale, recording clean screen audio is only part of the workflow. VideoLearningAI helps teams turn course materials, onboarding content, and complex process knowledge into polished training videos without a heavy editing process. If you want to move from raw captures to structured, publishable lessons faster, it's worth a look.